Whether building or renovating a home, settling in can be uncomfortable with layers of dust, random paint drops, and leftover debris that come home after the construction is complete. New buildings may appear enticing, but they require constant care after major construction. Households in areas with good growth favour structured approaches to restoring comfort quickly. Such a considered approach imposes a sense of order, facilitates residents’ settlement, and allows for positive custodianship over the long term.
Why Post-Construction Cleaning Matters
Spaces that are only just built hold particles that cling to the corners and the vents, and the places we cannot see. Fine dust is also scattered, and it is a great irritant to those with sensitive skin. Marks on fixtures diminish a new interior’s sparkle. If applied in areas where building materials are in contact, surfaces may become dull over time if it is not used. This helps eliminate worry and also keeps the finish layer intact for each part.
Step 1: Remove Loose Debris
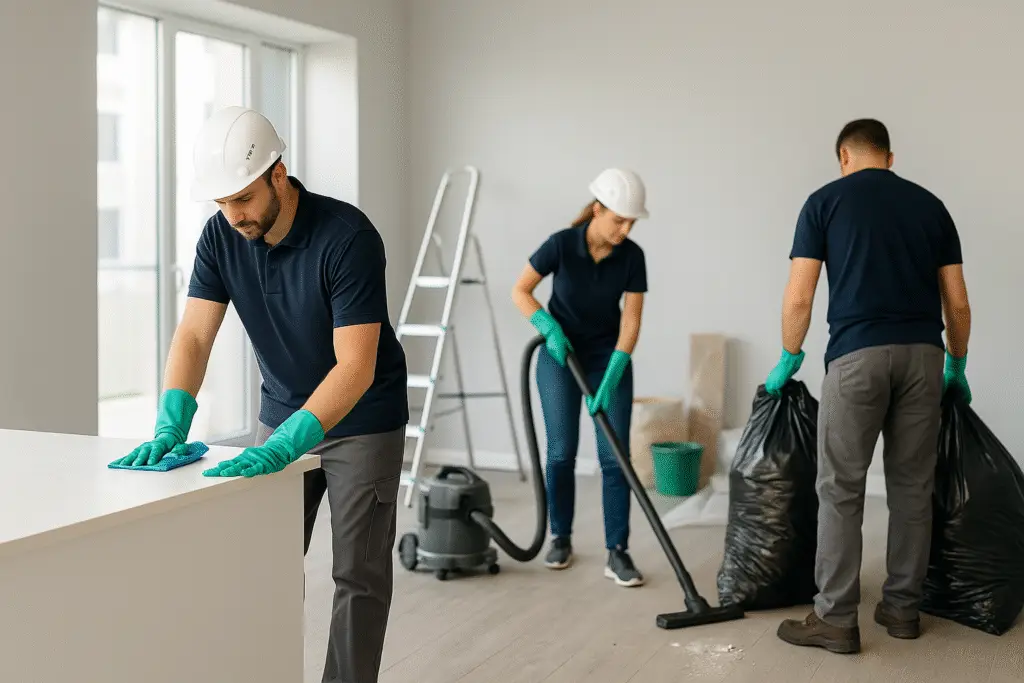
It is due to the small pieces of construction waste that they often go unnoticed, and only a proper sweep reveals them. First, collect large pieces that could scratch the floor. You make a gentle pass, and all the rest clears away with a soft touch. And you can grab micro-particles by vacuuming afterwards. People who clean a site for builders in Auckland typically follow the same steps, as it is much safer to move around when the floors are clear for deeper cleaning.
Step 2: Dust Higher Areas First
When construction work takes place, fine dust rises into the air. Residue tends to be trapped in those corners, up along the ceiling, lighting fixtures, or on the top shelves. If you start with the highest sections, you will never have to repeat the work. The microfiber cloth helps reduce streaks, and the extendable tool will enable me to reach high points without putting too much strain on my back and physical condition. One of the pieces of guidance provided by homeowners seeking advice from builders in Auckland is that paying attention to the high zones will minimise further accumulation in the areas that have just been cleaned.
Step 3: Clean windows and frames
Even the glass windows collect an astonishing amount of particles throughout the construction process. Damp wiping is more effective because dragging grit with dry dustcloths may produce scratches. Or, the gunk that settles in the grooves of a frame is often hidden. A steady, slow movement eliminates every inch without leaving a trace. Windows that are replaced are clear again (if done carefully).
Step 4: Touch Up Wall and Skirting
A smear from a gloved hand, or dirt left by construction equipment, is often visible on walls. These traces are removed by a mild solution using a soft sponge. Skirting boards also collect dust. Just flashes of passing silhouettes make the room feel brighter. Difficult corners need to be examined multiple times for consistency. If these areas are adequately maintained, repainting is typically not required.
Step 5: Proper Way To Clean a Hard Floor
Different cleaning methods will respond to various flooring materials. Timber requires gentle handling. Tile surfaces take well to more in-depth cleaning; however, grout lines require greater attention. Laminate sheets need minimal moisture. Do not use too much water on any of the floors to ensure that the structural layers are protected. Let the surfaces dry completely before replacing the furniture.
Step 6: Focus on Kitchens
Kitchens have plenty of fixtures to gather dust during the building process. All cupboards, drawers, and benchtops must be wiped down. Germs are airborne and can leave a film on adjacent countertops or even transfer to appliances, so those may need to be cleaned separately. One common place that shows stray adhesive dots softened by high water temperatures is in sink areas. A clean, gleaming kitchen invites new occupants to move in quickly.
Step 7: Refresh Bathrooms
Grout dust and microscopic bits of dried material from the bathroom surfaces. Warm water loosens these particles. Shower sections with glass panels require thoughtful, slow strokes to prevent streaking. If the taps do appear with water spots, these tend to disappear with a polish using a dry cloth. Ensure that there is no obstruction in the ventilation grilles so that air can move freely.
Step 8: Inspect Ventilation Paths
Construction dust commonly gets stuck in airflow paths. Improve the freshness by removing vent covers and wiping inside edges. Replace filters that have collected dust. Sensible circulation can lead to fewer maintenance problems in the long run. It helps reduce new builds to minimise better indoor air and make spaces feel more hospitable.
Step 9: Inspecting Switch Plates and Fixtures: To ensure that switch plates and fixtures are in place as well.
When you walk through light switches, handles, and fittings, you leave fingerprints from builders and inspectors on them. A fast clean, and you’re back to having a tidy finish. But small things mean a lot when it comes to beauty. New appliances make a significant impact when the home is ready for occupancy.
Step 10: Evaluate Outdoor Areas
Construction materials expanded exterior per work. Pathways may collect dust and fragments. Patios often contain remains that can be washed away with a light cleaning. Exterior windowsills and doorframes should not be forgotten about either. A neat exterior enables residents to enjoy their new environment.
Extra Tips for Better Results
Address sections one after the other from the top down to prevent recontamination.
When purchasing supplies, try to use hypoallergenic ones, as they are safer to breathe.
Have clean cloths available to help prevent the spread of dust.
Do not concentrate on drawing particles in; only hold surfaces closed. Let the air flow carry particles out for cleanup.
Always wear gloves during all steps to keep your hands safe.
Final Review Before Move-In
A walkthrough accompanies every stage to ensure that nothing has been overlooked. We test some switches, check the corners, and sample the surfaces to confirm everything feels just right. Clean, deep cleaning is the perfect time to focus on right before moving into a freshly constructed household. Most people who consider builders cleaning in Auckland will have similar processes to achieve the level of comfort they seek.
Conclusion
A clean home post-construction conveys a sense of effort, structure, and patience. Every task is valuable, and the feeling of calm in each of these newly constructed spaces is, too. These are the kinds of steps that help reduce the maintenance burden in the future and improve the owner’s experience. Routines help residents get settled quickly and feel at home. Those looking for builders cleaning Auckland will apply these measures to their personal homes to maintain appealing, clean interiors for years to come.